Brake Pads Explained: When to Replace and What to Buy
Brake pads are cheap until they are not. Knowing what you are buying, and when to stop driving, prevents damaged rotors and longer stops.
Brake pads are cheap until they are not. A worn pad is a routine replacement; a pad worn to metal becomes a set of scored rotors, a longer stopping distance and a much larger bill. Knowing what you are buying, and when to stop driving, is the difference between maintenance and repair.
This guide explains how pads work, how to tell when they are done, which materials suit which driving and what a fair price looks like in 2026. It applies to the common disc brake setup on most cars, not to heavy-duty air brakes.
What brake pads do
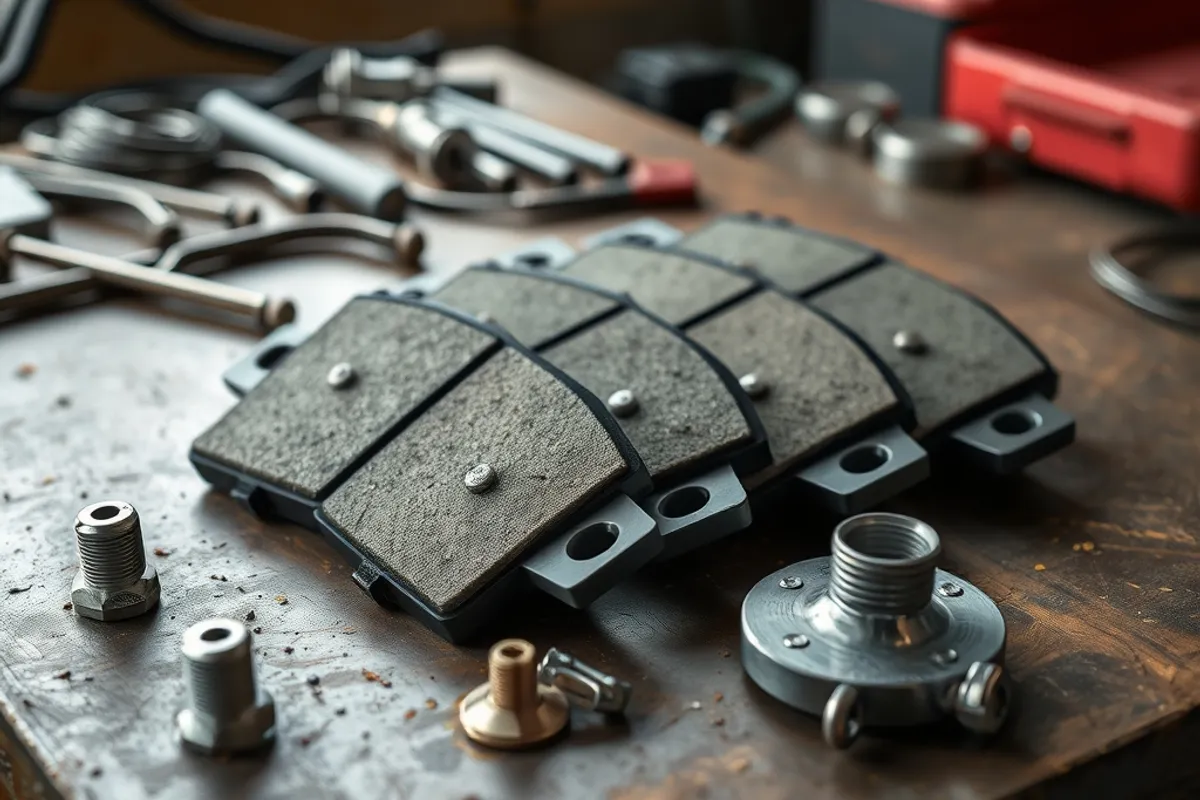
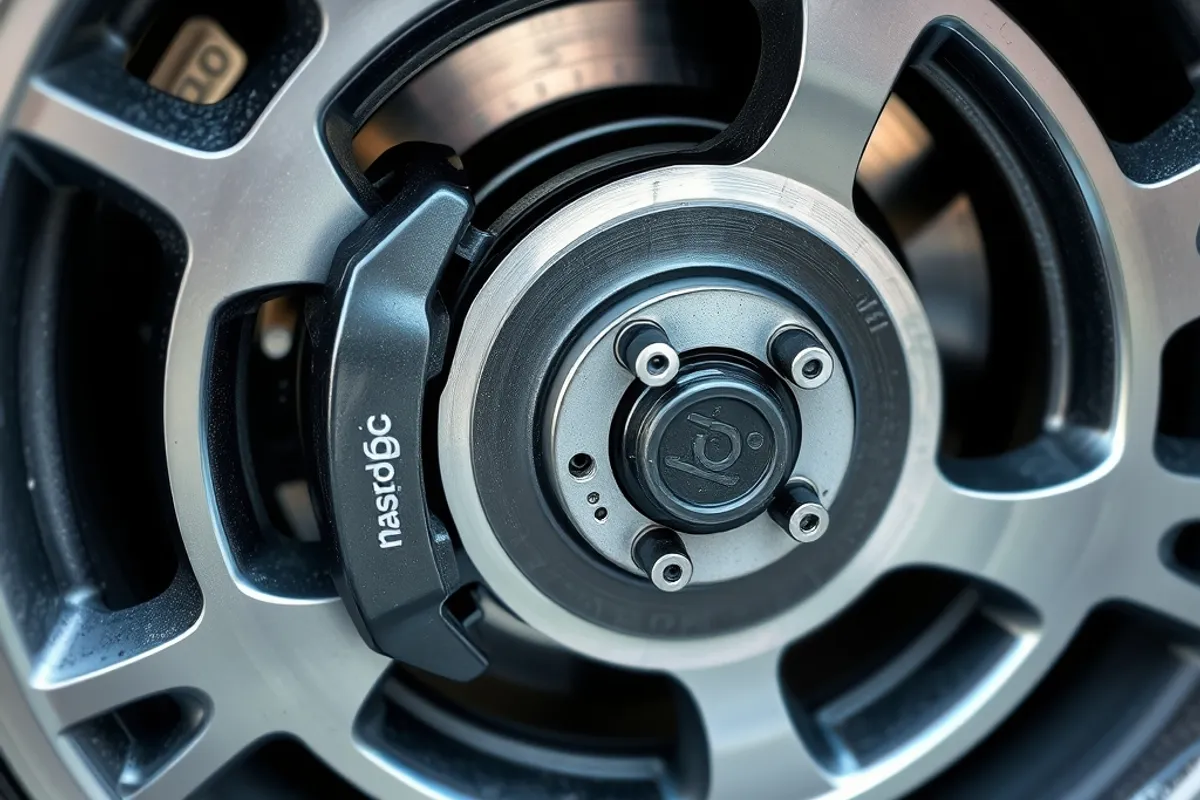
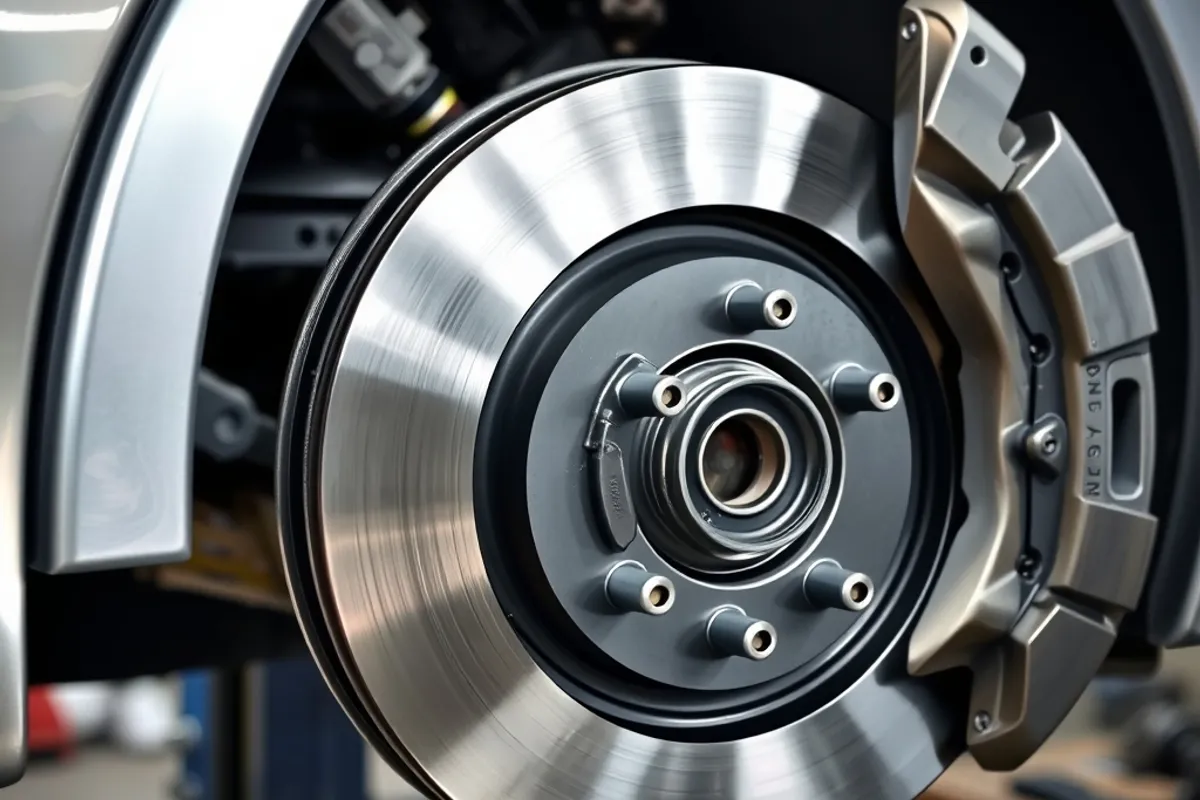
A brake pad is a block of friction material backed by steel. When you press the pedal, hydraulic pressure pushes a piston that clamps the pad against a spinning disc, converting motion into heat. The pad wears instead of the disc, which is why it is designed to be replaced.
Most cars have disc brakes at the front and either discs or drums at the rear. Front pads usually wear faster because the front does more of the stopping. A car with rear drums uses brake shoes, which last longer but are inspected less often.
When pads need replacing
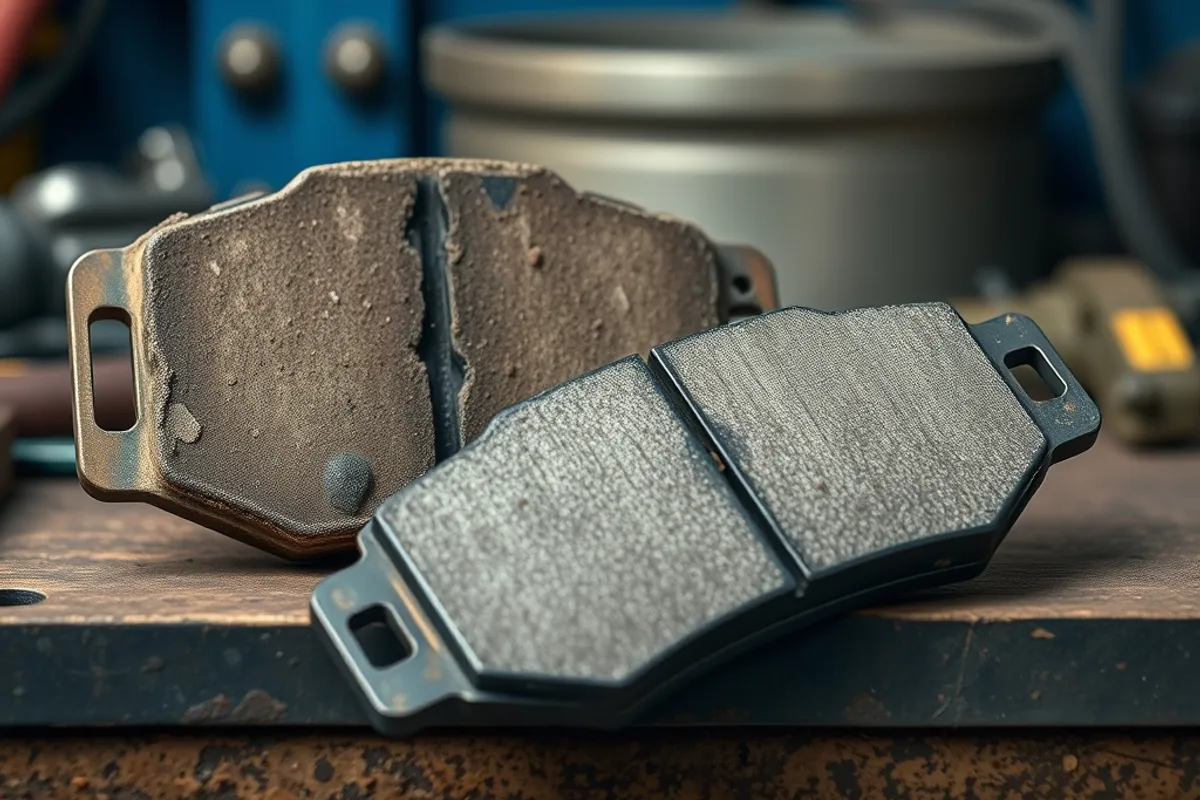
The reliable signal is thickness, not noise. New pads typically have 10 to 12 mm of friction material. Replace them around 3 mm, and stop driving at 2 mm. Many pads have a wear indicator that squeals when the material is low; a grinding noise usually means the backing plate is already touching the disc.
- Squealing that changes with wheel speed.
- Grinding under braking, especially at low speed.
- A pedal that travels further or feels soft.
- Pulling to one side when braking.
- Visible pad thickness below 3 mm.
A soft or sinking pedal can indicate air in the hydraulic system or a fluid leak, not just worn pads. Stop driving and have the system checked; brakes are not a wait-and-see item.
Pad materials compared
Organic pads are quiet and gentle on rotors but wear faster and fade sooner when hot. Semi-metallic pads last longer and handle heat better, at the cost of more dust and noise. Ceramic pads are quiet, low-dust and consistent, but they cost more and may not suit heavy towing. Performance pads trade cold bite for high-temperature stability; they are wasted on a daily commuter.
Match the pad to the car and the use. A compact hatchback does not need track pads, and a loaded SUV should not use the cheapest organic set. Check the manufacturer's specification and the pad's temperature rating, not just the price.
What brake pads cost in 2026
A basic front pad set costs roughly 30 to 80 dollars in parts, while premium or ceramic sets run higher. Workshop prices add labour, which varies widely by region and vehicle. Expect a front pad replacement to take one to two hours; a full axle with rotors takes longer.
Dealer prices are usually the highest, independent workshops are often lower, and a chain fitting centre sits in between. Ask whether the quote includes new hardware, rotor measurement and a brake fluid check. A suspiciously cheap quote often excludes the parts that make the job last.
Buy the pad that matches your driving, not the one with the loudest box.
Grace Okafor
Rotors, fluid and hardware
Rotors have a minimum thickness stamped on the hub. If they are below it, warped or deeply scored, replace them. Machining is sometimes possible, but only within the manufacturer's limit. New pads on worn rotors can squeal, judder or fail to bed in properly.
Brake fluid absorbs moisture and should be replaced on the service interval, typically every two to three years. Fresh fluid protects the calipers and keeps the pedal firm. New pad hardware, including clips and shims, reduces noise and costs little. Do not reuse rusted springs.
DIY or workshop?
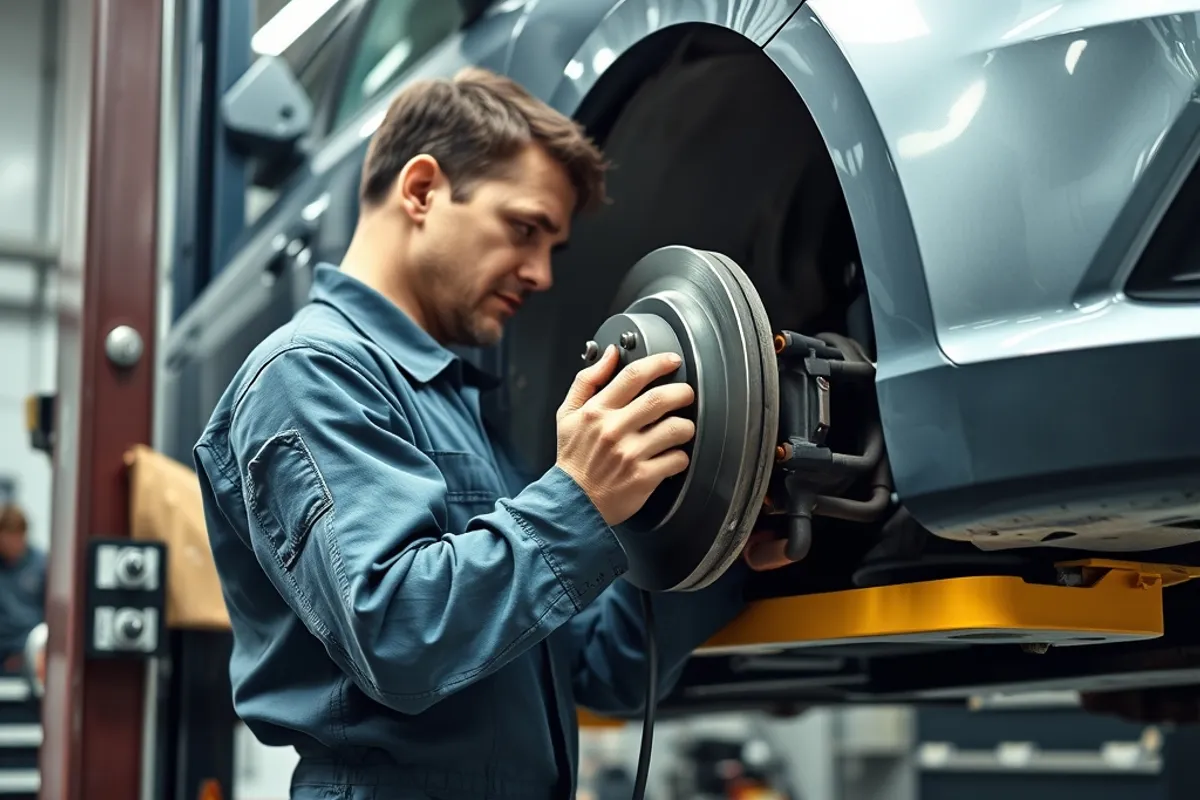
Changing pads is a manageable DIY job for someone with the right tools, a safe lifting point and a torque wrench. You must retract the caliper piston correctly, support the caliper so it does not hang on the hose, and torque every bolt to spec. Bleeding the brakes after opening the hydraulic system is not optional.
If you are unsure, pay a professional. Brakes are the one system where a mistake is measured in stopping distance. A workshop also has the equipment to measure rotors and test fluid. For the rest of the service schedule, our maintenance checklist explains what to check between visits, and our tire buying guide covers the other part that decides how quickly you stop.
Final word
Replace pads before the metal shows, choose a compound that matches your driving and treat rotors and fluid as part of the same job. For a technical overview of pad construction and materials, the Wikipedia entry on brake pads is a useful reference. Then let the condition of the car, not the calendar alone, decide when to book the work.
Key facts
- Replace at about 3 mm; stop at 2 mm.
- Grinding means the backing plate is contacting the rotor.
- Ceramic is quiet and low-dust; semi-metallic handles heat.
- Check rotor thickness and brake fluid at the same time.
- Torque every bolt and never let the caliper hang on its hose.